


Direct-to-Fabric (DTF) printing is a cutting-edge method for creating custom, high-quality designs on fabrics. It involves specialized equipment like DTF printers, transfer paper, fabric inks, and heat presses to achieve vibrant results. The process begins with designing artwork using dedicated software, printing it onto transparent film, and carefully transferring it to fabric. Heat activation fuses the design into the fabric fibers, ensuring durability. Using suitable fabrics, proper pre-treatment, and specific inks, along with post-processing techniques, DTF printing offers fade-resistant, wash-friendly designs for textiles, clothing, and home decor.
Discover the art of Direct-to-Fabric (DTF) transfer, a revolutionary technique transforming textile design. This process allows you to effortlessly apply intricate designs onto fabrics using film. From understanding the fundamentals of DTF to mastering the heating and fusing process, this guide covers everything. Learn about essential equipment, materials, and expert tips for achieving vibrant, long-lasting results with DTF. Elevate your fabric design game today!
- Understanding DTF: Direct-to-Fabric Transfer Explained
- Equipment and Materials Required for the DTF Process
- The Film Preparation Step: Creating Your Design Template
- Applying the Film to Fabric: A Detailed How-To Guide
- Heating and Fusing: Setting Your Design Permanently
- Tips and Tricks for Achieving Vibrant, Long-Lasting Results with DTF
Understanding DTF: Direct-to-Fabric Transfer Explained

Direct-to-Fabric (DTF) transfer is a cutting-edge technique that has revolutionized the way we bring designs to life on various materials, especially fabrics. This modern method eliminates the need for traditional printing processes and allows for direct application of graphics or patterns onto fabric surfaces. With DTF, designers and artisans can achieve high-quality, vibrant results with exceptional detail.
The process involves using specialized equipment and ink to transfer a design from a digital file directly onto the fabric. This technology ensures that every element of the design is accurately replicated, making it perfect for creating custom textiles, clothing, or home decor items. DTF offers a versatile and efficient solution, enabling businesses and creatives to streamline their production while maintaining exceptional visual quality.
Equipment and Materials Required for the DTF Process
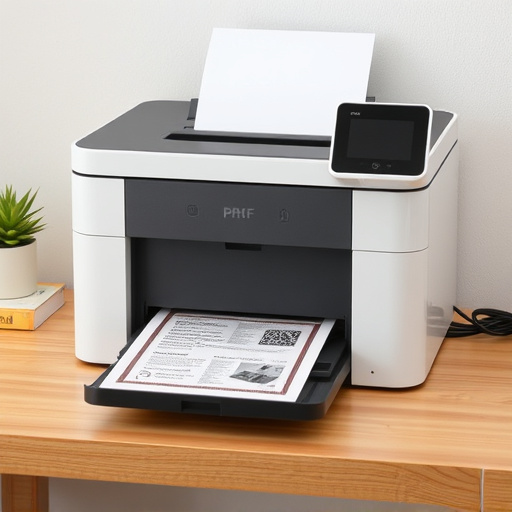
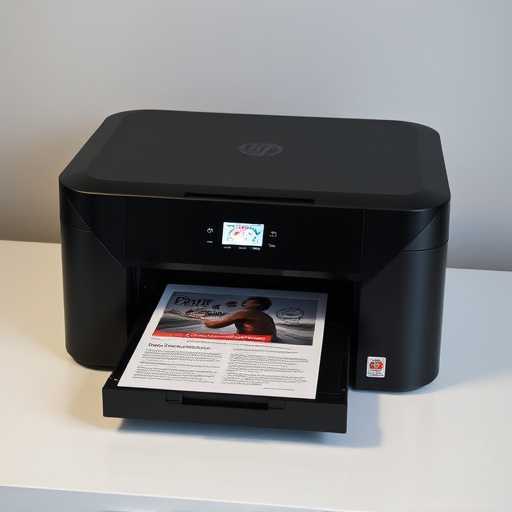
The Direct-to-Fabric (DTF) technique requires a specific set of equipment and materials to achieve precise and vibrant designs on fabrics. Key components include specialized DTF printers, which use inkjet technology to transfer detailed images directly onto fabric surfaces. These printers are designed to handle various fabric types and weights, ensuring optimal results across different materials. Along with the printer, you’ll need high-quality transfer paper tailored for DTF applications. This paper acts as a medium to carry the design until it’s securely bonded to the fabric.
Additional essentials include a range of inks suitable for fabric printing, typically eco-solvent or UV curable inks known for their durability and fast drying times. You’ll also require a heat press machine to activate the ink and permanently fix the design onto the fabric. Proper cleaning and preparation solutions are vital to ensure no residual ink or contaminants affect subsequent prints. Furthermore, various tools like scrapers, brushes, and cloth are needed for pre-treating, cleaning, and post-processing tasks, ensuring every step of the DTF process is executed flawlessly.
The Film Preparation Step: Creating Your Design Template

When preparing your fabric for direct-to-fabric (DTF) printing, the initial step involves creating a design template using film. This process is both art and science, requiring precision to ensure the final transfer is crisp and accurate. The first task is to choose or design your pattern or graphic, which will serve as the foundation of your fabric art. This can be done digitally, using specialized software that allows you to create intricate patterns with ease. Once your design is finalized, it needs to be printed onto a transparent film medium suitable for DTF applications.
The film preparation method varies slightly depending on the chosen printing technique (e.g., inkjet or laser) and the type of fabric. Typically, you’ll need to scale your design to the appropriate size, ensuring it aligns perfectly with the print area of your film printer. After printing, the film is carefully cut along the design contours, creating a precise stencil that will transfer the image onto the fabric. This step demands careful handling to avoid smudging or distortion of the design.
Applying the Film to Fabric: A Detailed How-To Guide
Applying the Film to Fabric: A step-by-step guide for DTF (Direct to Fabric) printing involves several precise actions. First, design your artwork using specialized software, ensuring it’s optimized for DTF. Next, print the design onto a transparent film using a high-quality printer—the type used for photo prints works best. Once printed, carefully handle the film, as it’s delicate. Place the film face down on the fabric, ensuring full contact with the surface. It’s crucial to use a smooth, flat surface and apply even pressure to prevent bubbles or misalignments.
After ensuring proper alignment, use a warm iron (around 150°C or 300°F) to fuse the film onto the fabric. Keep the iron moving smoothly to avoid damaging the fabric or burning the design. The heat transfers the ink from the film to the fabric, creating a crisp, permanent image. Once the ironing is complete, allow the fabric to cool down before peeling away the film. This process reveals your design beautifully transferred onto the fabric, ready for further finishing touches or wearing!
Heating and Fusing: Setting Your Design Permanently

The process of Heating and Fusing, often referred to as Direct to Fabric (DTF), is a crucial step in permanently transferring your design onto fabrics. It involves using heat to activate the adhesive properties of the transfer paper, allowing the ink to bond with the fabric fibers. This method ensures that your design becomes an integral part of the fabric, resistant to fading and easy to care for.
During DTF, a heated press or iron is used to apply consistent pressure and temperature to the design area. This heat triggers a chemical reaction between the transfer paper’s adhesive and the fabric, creating a strong bond. The result is a vibrant, long-lasting print that retains its quality even after multiple washes. Proper heating and fusing techniques are essential for achieving high-quality, permanent designs on a variety of fabrics.
Tips and Tricks for Achieving Vibrant, Long-Lasting Results with DTF

To achieve vibrant and long-lasting results with Direct-to-Fabric (DTF) printing, start by selecting high-quality fabrics suitable for this technique. Cotton, linen, and polyester blends tend to work best due to their even absorbency. Pre-treating your fabric is crucial; ensure it’s clean, and consider using a mild detergent to remove any oils or impurities that could affect ink adhesion.
Next, choose the right inks and apply them evenly. DTF inks are designed to bond strongly with fabrics, but proper application is key. Use a precision applicator tool for accurate, drop-by-drop placement, avoiding excessive ink that might bleed or dry unevenly. Consider testing different print resolutions; higher resolutions offer more detail but may take longer to dry. Finally, post-process your printed fabric by carefully removing any masking or support materials, then heat-set the design using an iron or a heat press for optimal color fastness and durability.